super cool man!!! very nice.
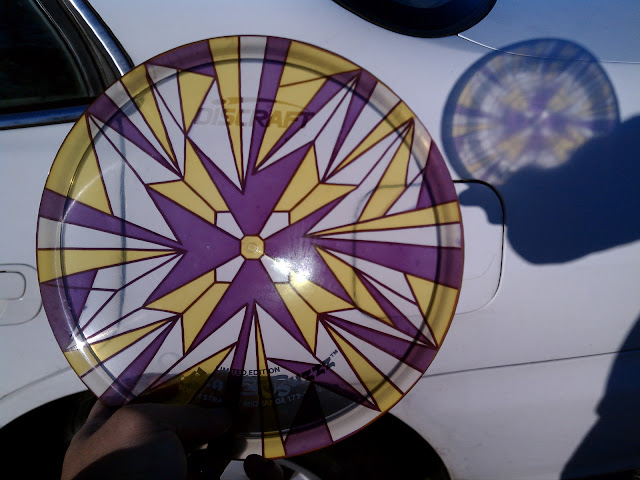
When I remove all the "stick icky" to reveal the finish product -- well before I reveal the finish product -- I run the water in the kitchen sink as hot as I can get it and just let the water run over the top of the disc AND vinyl before I peel the vinyl back. It really loosens up the adhesive on the vinyl PLUS+++ it really helps remove any excess dye that may still be on the disc.
:thmbup::thmbup::thmbup:
Last edited:


 Great flick BTW. The final action sequence is pretty epic. Like...explosive shotgun round - 6 guys killing the shizznit out of an army epic.