Lochness Park DGC
Rating 3.16
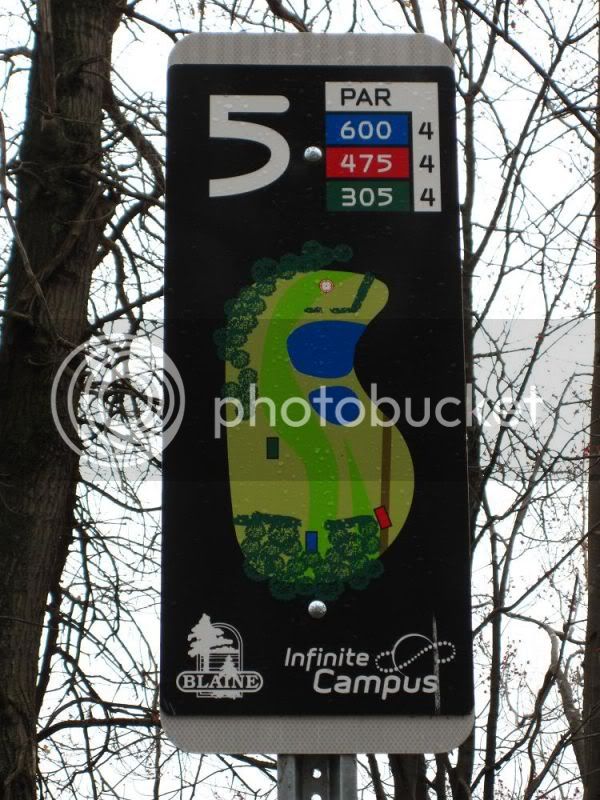
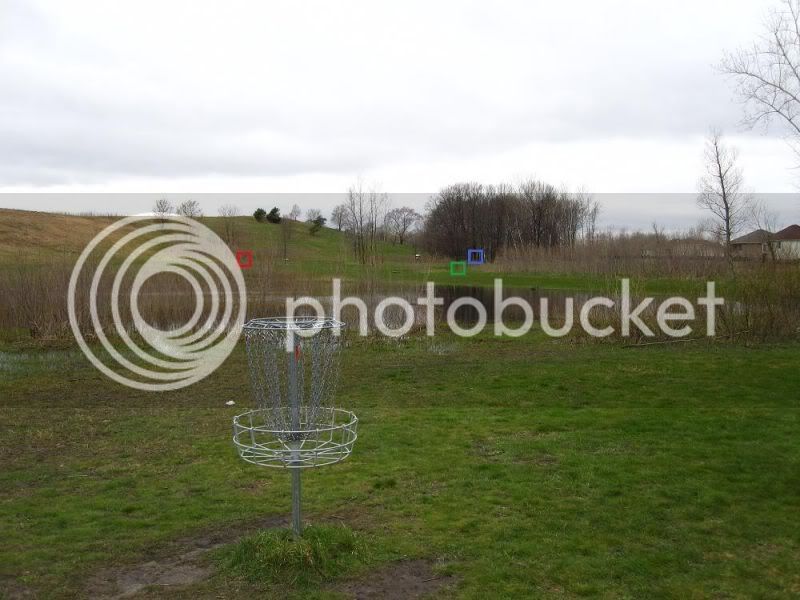
Hole #5
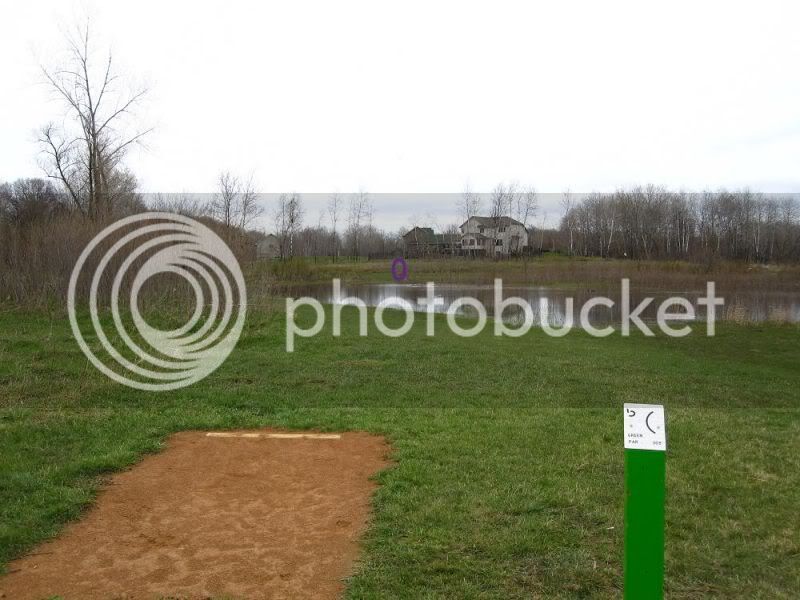
Green: 305 ft Par 4?
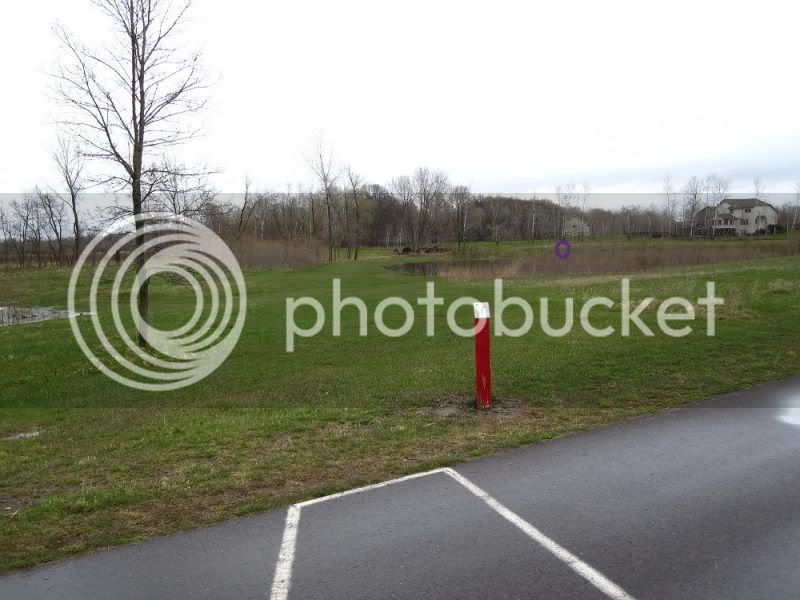
Red: 475 ft Par 4
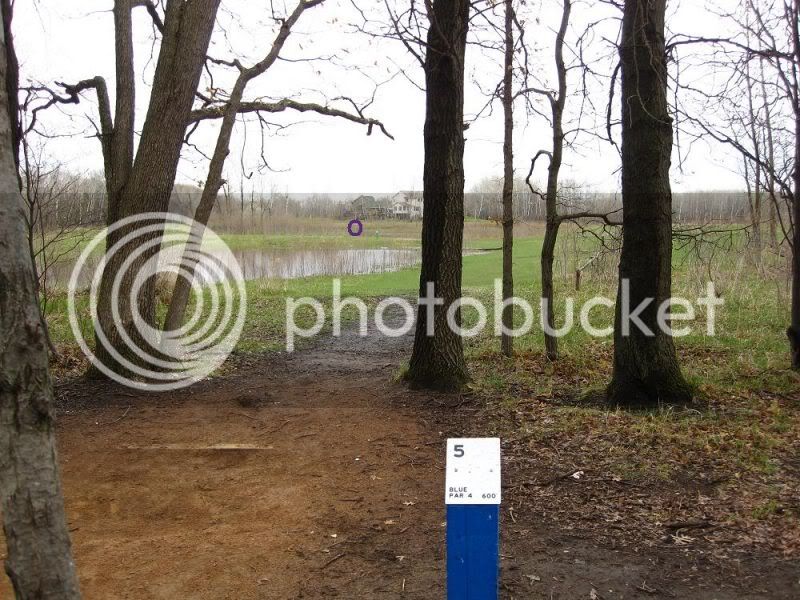
Blue: 600 ft Par 4
This is a fun course... I have played it a bunch of times. This is one of the best holes as well...
Hole Sign...
Blue Tee...
Red Tee...
Green Tee...
Pin to Pads...
Rating 3.16
Hole #5
Green: 305 ft Par 4?
Red: 475 ft Par 4
Blue: 600 ft Par 4
This is a fun course... I have played it a bunch of times. This is one of the best holes as well...
Hole Sign...
Blue Tee...
Red Tee...
Green Tee...
Pin to Pads...
Last edited: