LetsPlayGolf
Par Member
What is the max number of discs people have been able to carry in the main compartment?
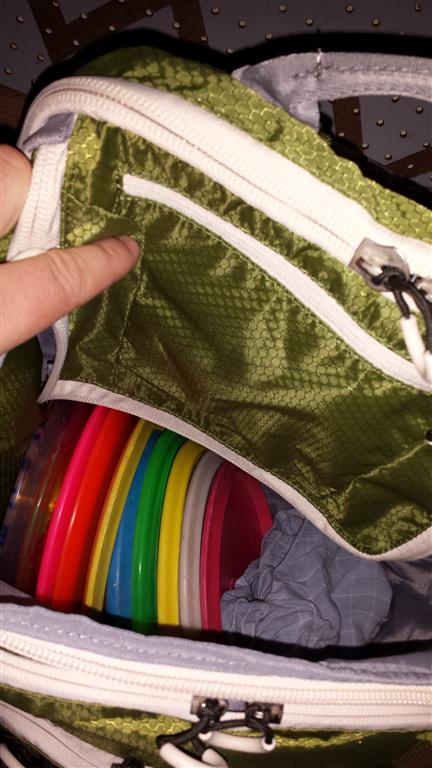
I carry 16 in the main compartment and 2 putters in the front pocket. It really, really works well.
What is the max number of discs people have been able to carry in the main compartment?
OK, so here is the first modification I've made, and how to construct my version of the frame. You will need 10' of 1/2" PVC, cut up as follows:
5x 4 1/2" pieces to build front to back cross members
4x 4 1/4" pieces to build the horizontal base
4x 2 1/2" pieces for vertical risers to second set of front to back supports
2x 9 3/4" pieces for horizontal cross members/disc supports
4x 4 1/8" pieces for rear vertical supports and diagonal pieces.
8x 1 1/4" pieces to join PVC elbows directly together
10 1/2" PVC Tees
4 1/2" Side discharge elbows
2 1/2" 90 degree elbows
4 1/2" 45 degree elbows
After cutting the pipe in half to get it home, and making a few errors, I was left with less than a foot of pipe left over, so make sure you buy the whole 10' section (Lowes had 5' sections, and I almost bought one of those until I noticed that 10' was only 42 cents more).
After building the frame outside the bag I discovered that it would not fit into the bag, so if you follow my plan you'll need to build the base and the first set of risers and add them the bag, then add the second set of supports from front to back with a set of 1 1/4" supports. Then add the cross pieces with the disc supports. Finally add the last vertical pieces with the 45 degree elbows.
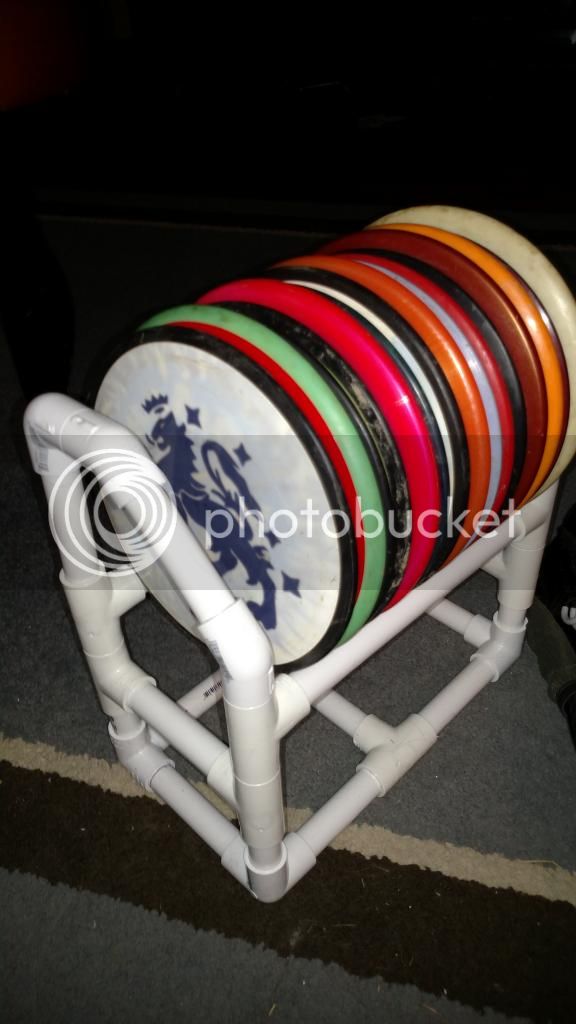
No prob, glad to help. Definitely Plasti-Dip the bottom. I waited and started to see abrasion very quickly, but now that I've got 3 coats on there the bag is as good as new!I just duplicated this frame for a new bag for my son. He still needs a number of years before can stash some brews in it, but it is great and he loves it.
These instructions are spot on. Thanks for taking the time to detail the cut lengths and pieces needed.
Thanks for all the input in this thread as well!!
Great thread and great bag. We just need to plasti dip the bottom and we are good to go!!
Thanks again to all!
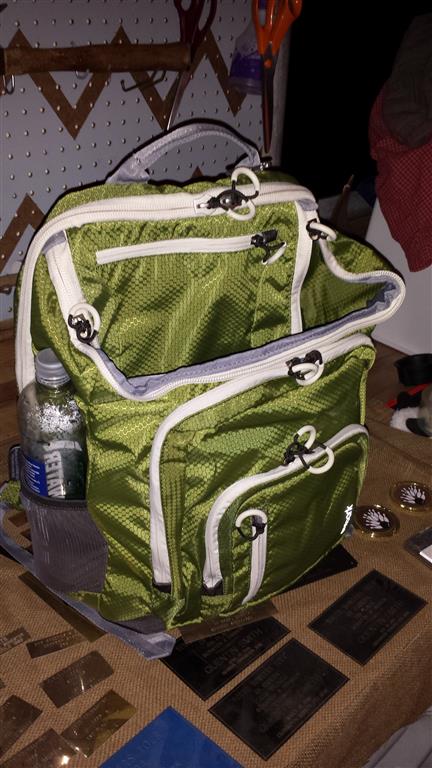

From what I've seen, brush-on Plasti Dip is more durable than the spray-on rubberized coatings (including Plasti Dip spray). Might be as simple as individual coats are thicker with the brush-on stuff, but it seems to hold up better regardless of the reason.Instead of plasti-dip, has anyone used the gutter sealer on the bottom? I think this might work better, but I don't want to screw up my bag.
From what I've seen, brush-on Plasti Dip is more durable than the spray-on rubberized coatings (including Plasti Dip spray). Might be as simple as individual coats are thicker with the brush-on stuff, but it seems to hold up better regardless of the reason.
I thought that was what everyone was using....
I'm thinking of selling my bag now since a buddy just picked this up at academy this past weekend.
http://www.academy.com/shop/pdp/magellan-outdoors-deluxe-disc-golf-backpack
$30 and you're already setup. Wish I would have shopped around first. :-/