chiggins
Eagle Member
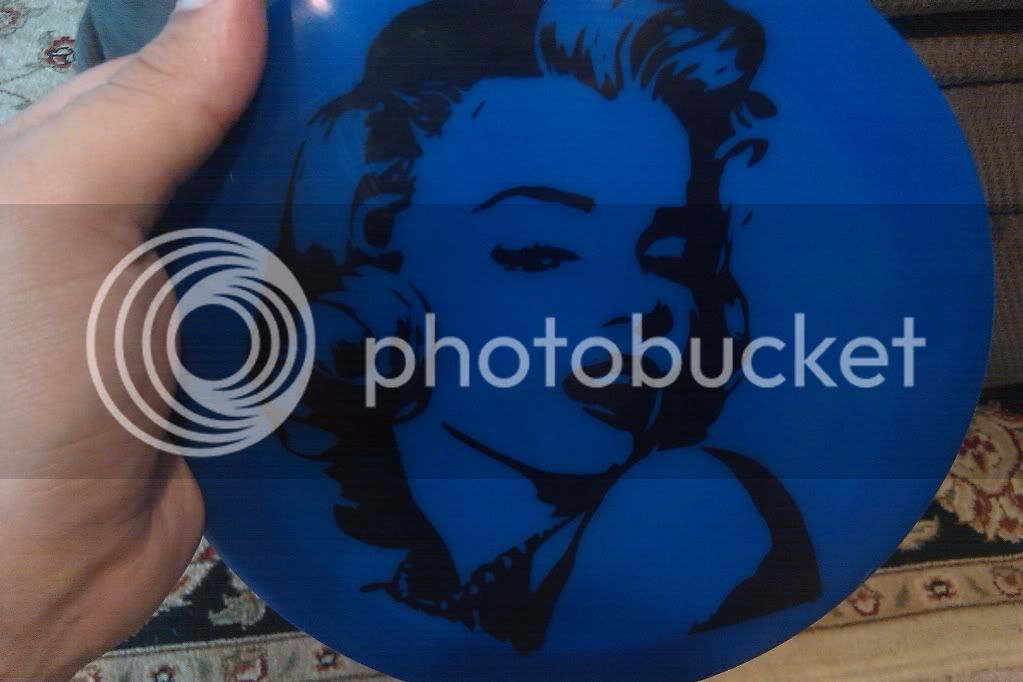
ChUcK said:keltik said:why does that nude look so familiar?
I couldn't think of any better 'your mom' joke this early in the morning, so you'll just have to make do with: Because it's your mom.
I was gonna say something about it coming out tits, but that would be wrong, so I won't do that.
However, I will say:
- LOOKATHERACKSONTHATSUCKER! WOOOOOHOOO!
- I can't wait for the "thigh" dye to complete the chicken-trio.
Nice dyes, doctor, keep 'em comin'!