• Discover new ways to elevate your game with the updated DGCourseReview app!
    It's entirely free and enhanced with features shaped by user feedback to ensure your best experience on the course. (App Store or Google Play)

The Dye A Day Thread! (Part II)

Status
Not open for further replies.
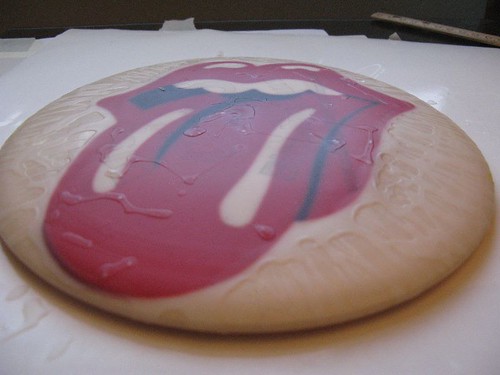
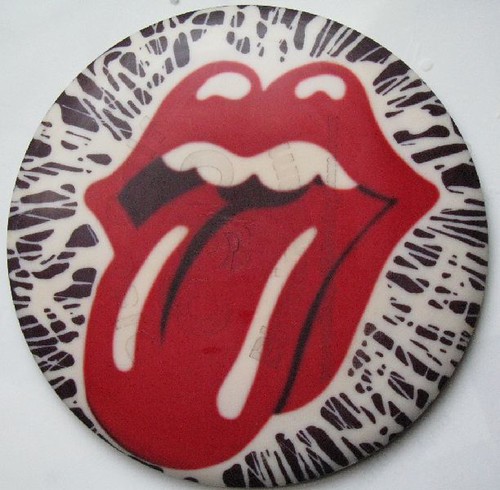
Maybe a stupid question, but if you do a stencil dye first, can you do a SC dye after? or should you always do SC then Stencil. I was thinking of dropping some color behind my sugar trooper, just dont want to destroy it.

You can, but it will need to be masked to prevent the original piece from becoming dyed as well. The black lines should be fine though.

I've found that if I dye the black lines of the art work then take away the background mask then I can dye the back ground cleanly (as long as it's not spike-it used to dye the background). Spike-it will eat the adhesive off of vinyl in my experiences.

Once the black lines are done you can peal the background and have at it with little fear (I use iDye Poly for backgrounds when I plan to dye a foreground). Then can peal the foreground and use finer techniques to fill in foreground as needed using shaving cream to hold the dye to within lines (i loved coloring books growing up).
 
There are times when I have gotten some aberrations on a disc that appear as small dots that don't accept dye. I'm not sure how these occur...would like to learn how to make this happen intentionally. There must be some foreign substance that gets in there that causes minor misses. Would love to learn how to make them intentional and controlled areas.
 
There are times when I have gotten some aberrations on a disc that appear as small dots that don't accept dye. I'm not sure how these occur...would like to learn how to make this happen intentionally. There must be some foreign substance that gets in there that causes minor misses. Would love to learn how to make them intentional and controlled areas.
One suggestion..

Elmer's glue dried on prior to dye.

I just finished the bottom plate dye of a jolly orange Roc3 with a brick wall design. Used Elmer's to mask off the 'mortar' lines and little dots and smears to add character and depth to the 'bricks'. Method was a strong concentrate (#1 packet to 12 oz) IDye Poly in shaving cream buttered on and left to sit on/in disc. Worked very well.
 
Last edited:
I am truly honored that you would consider me worthy after my first year of dying to be included in the Okthroberfest dying competition. I have learned a great deal from this website and continue to push my own limitations to improve my abilities. (when i finally get a plotter and can stop hand drawing and hand cutting my designs...i can't wait)

However, I won't be a part of this years Okthroberfest. In part because of finances, but more so because of a local disc dying fund raiser that is to raise money for a local family's Christmas that shortly follows this one.

I represented well with my first ever dye job in the local "dying for a cause". I have progressed so much in the past year. I am greatly looking forward to this years.

AWWW COME ON! Not like dyeing discs takes THAT many hours of personal time! Oh wait...

You should still have time to do SOMETHING for Okthrowberfest, and probably WIN some plastic that you could DYE for Dyeing For A Cause! I do love their contest, one of the few annual dye contests worth seeing every year outside of the 'Fest.

One suggestion..
Elmer's glue dried on prior to dye.

I did this once, a very very long time ago, it worked very well.

4171955280_1b54577eab.jpg


4171955442_4cf71b475d.jpg
 
2py0oqr.jpg
[/IMG]

I claim today for my first dye of the day post!


Medium O-Lace with shaving cream / IDye stencil.

Method:
-Oracal 651 stencil cut with a Cricut
-Room temp, no heating
-Disc dyed face up
-2 hour blue IDye concentrate (12oz water to one packet) mixed with gel shaving cream and buttered over the stenciled area
-First shaving cream wiped off and dis guarded
-2 hour blue Idye concentrate mixed with gel shaving cream with red and yellow concentrate pulled through blue base with a tiny paint brush

Seems like it took pretty deep.
 
Bennett, I remember seeing this dye on the DGR forum forever ago. I gave credit to RobEdwards a while ago for the elmers glue background that I did on another disc. I really should have given credit to you, because this is where I learned of the method first. He just uses it to do multi colors which is more like what I did. This Rolling Stones dye is the reason I started using elmers glue to cover my cut lines when I do multi colors and where I learned to use glue instead of vinyl on a remask. :hfive:
 
Bennett, I remember seeing this dye on the DGR forum forever ago. I gave credit to RobEdwards a while ago for the elmers glue background that I did on another disc. I really should have given credit to you, because this is where I learned of the method first. He just uses it to do multi colors which is more like what I did. This Rolling Stones dye is the reason I started using elmers glue to cover my cut lines when I do multi colors and where I learned to use glue instead of vinyl on a remask. :hfive:

Thank you good sir, always glad to see when our community shares the dyeing info and puts it to use!

That may have been the second disc I ever dyed --- I didn't know if it would work or not. I'm glad it did, and that I took the pictures :)
 
ALL GLORY TO THE HYPNOTOAD!

Done on a White Sirius Scorpius.

Couple small bleeds during each of the tye dyes, the only bad one being the bleeding into the top of the left eye.

Oher than that, it turned out great. It was fun doing the various green/brown shades. I spun lines onto the back for fun and to help cover up how much dye I accidentally got back there ;)

Is that the Hypno Toad from Futurama?
 
s2qgs6.jpg


GStar purple ROC3 and GStar green BB Aviar.

?? Not sure if I am done or not with them. Ideas ??

Got the 'wood grain' looked I wanted. Neither discs are virgins and came out of my bag and thrower stock. Happy with so little bleed of the dye.

Stencil: Oracal 651 (i used a circut) and use of transfer tape

Dye:
- Room temperature (no boiling, heating, or stove)
- Disc face up on top of an old wash cloth inside an Ultimate Disc
- 2 hours Red Idye Poly concentrate (12oz water to one packet) mixed to medium red in gel shaving cream and buttered over stencil
- First dye wiped off with a tissue
- 2 hours Red Idye Poly concentrate in gel shaving cream buttered over stencil with a small amount Blue Idye Poly concentrate poured onto edges shaving cream and pulled through the shaving cream with a small brush
 
A few spin dyes

Trying some spin dyes.
 

Attachments

  • IMG_6816 (800x790).jpg
    IMG_6816 (800x790).jpg
    76.5 KB · Views: 75
  • IMG_6823 (759x800).jpg
    IMG_6823 (759x800).jpg
    70 KB · Views: 51
  • IMG_6820 (785x800).jpg
    IMG_6820 (785x800).jpg
    52.1 KB · Views: 48
Status
Not open for further replies.

Latest posts

Top