kcoates
Newbie
My first dye
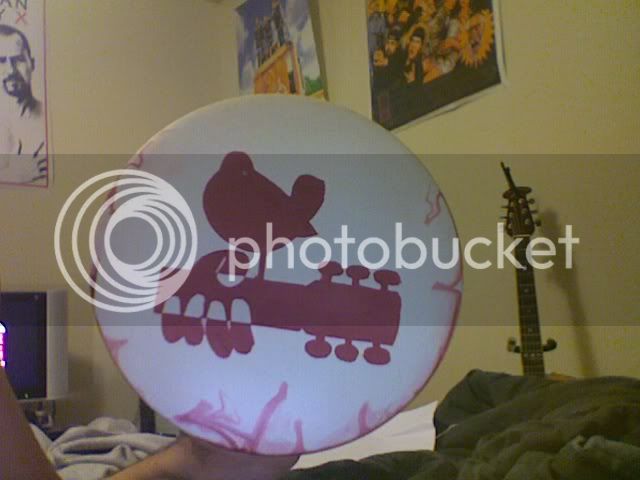
This is my first dye I just completed. I had some running because i did the paint method and didn't cover the whole disc and I didn't expect it to run so much. Anyway, I'm okay with the end result and I can't wait to do another. Let me know what you think of it. Woodstock dye on Star Teebird.
This is my first dye I just completed. I had some running because i did the paint method and didn't cover the whole disc and I didn't expect it to run so much. Anyway, I'm okay with the end result and I can't wait to do another. Let me know what you think of it. Woodstock dye on Star Teebird.